Low-Clearance Collet Hardstop
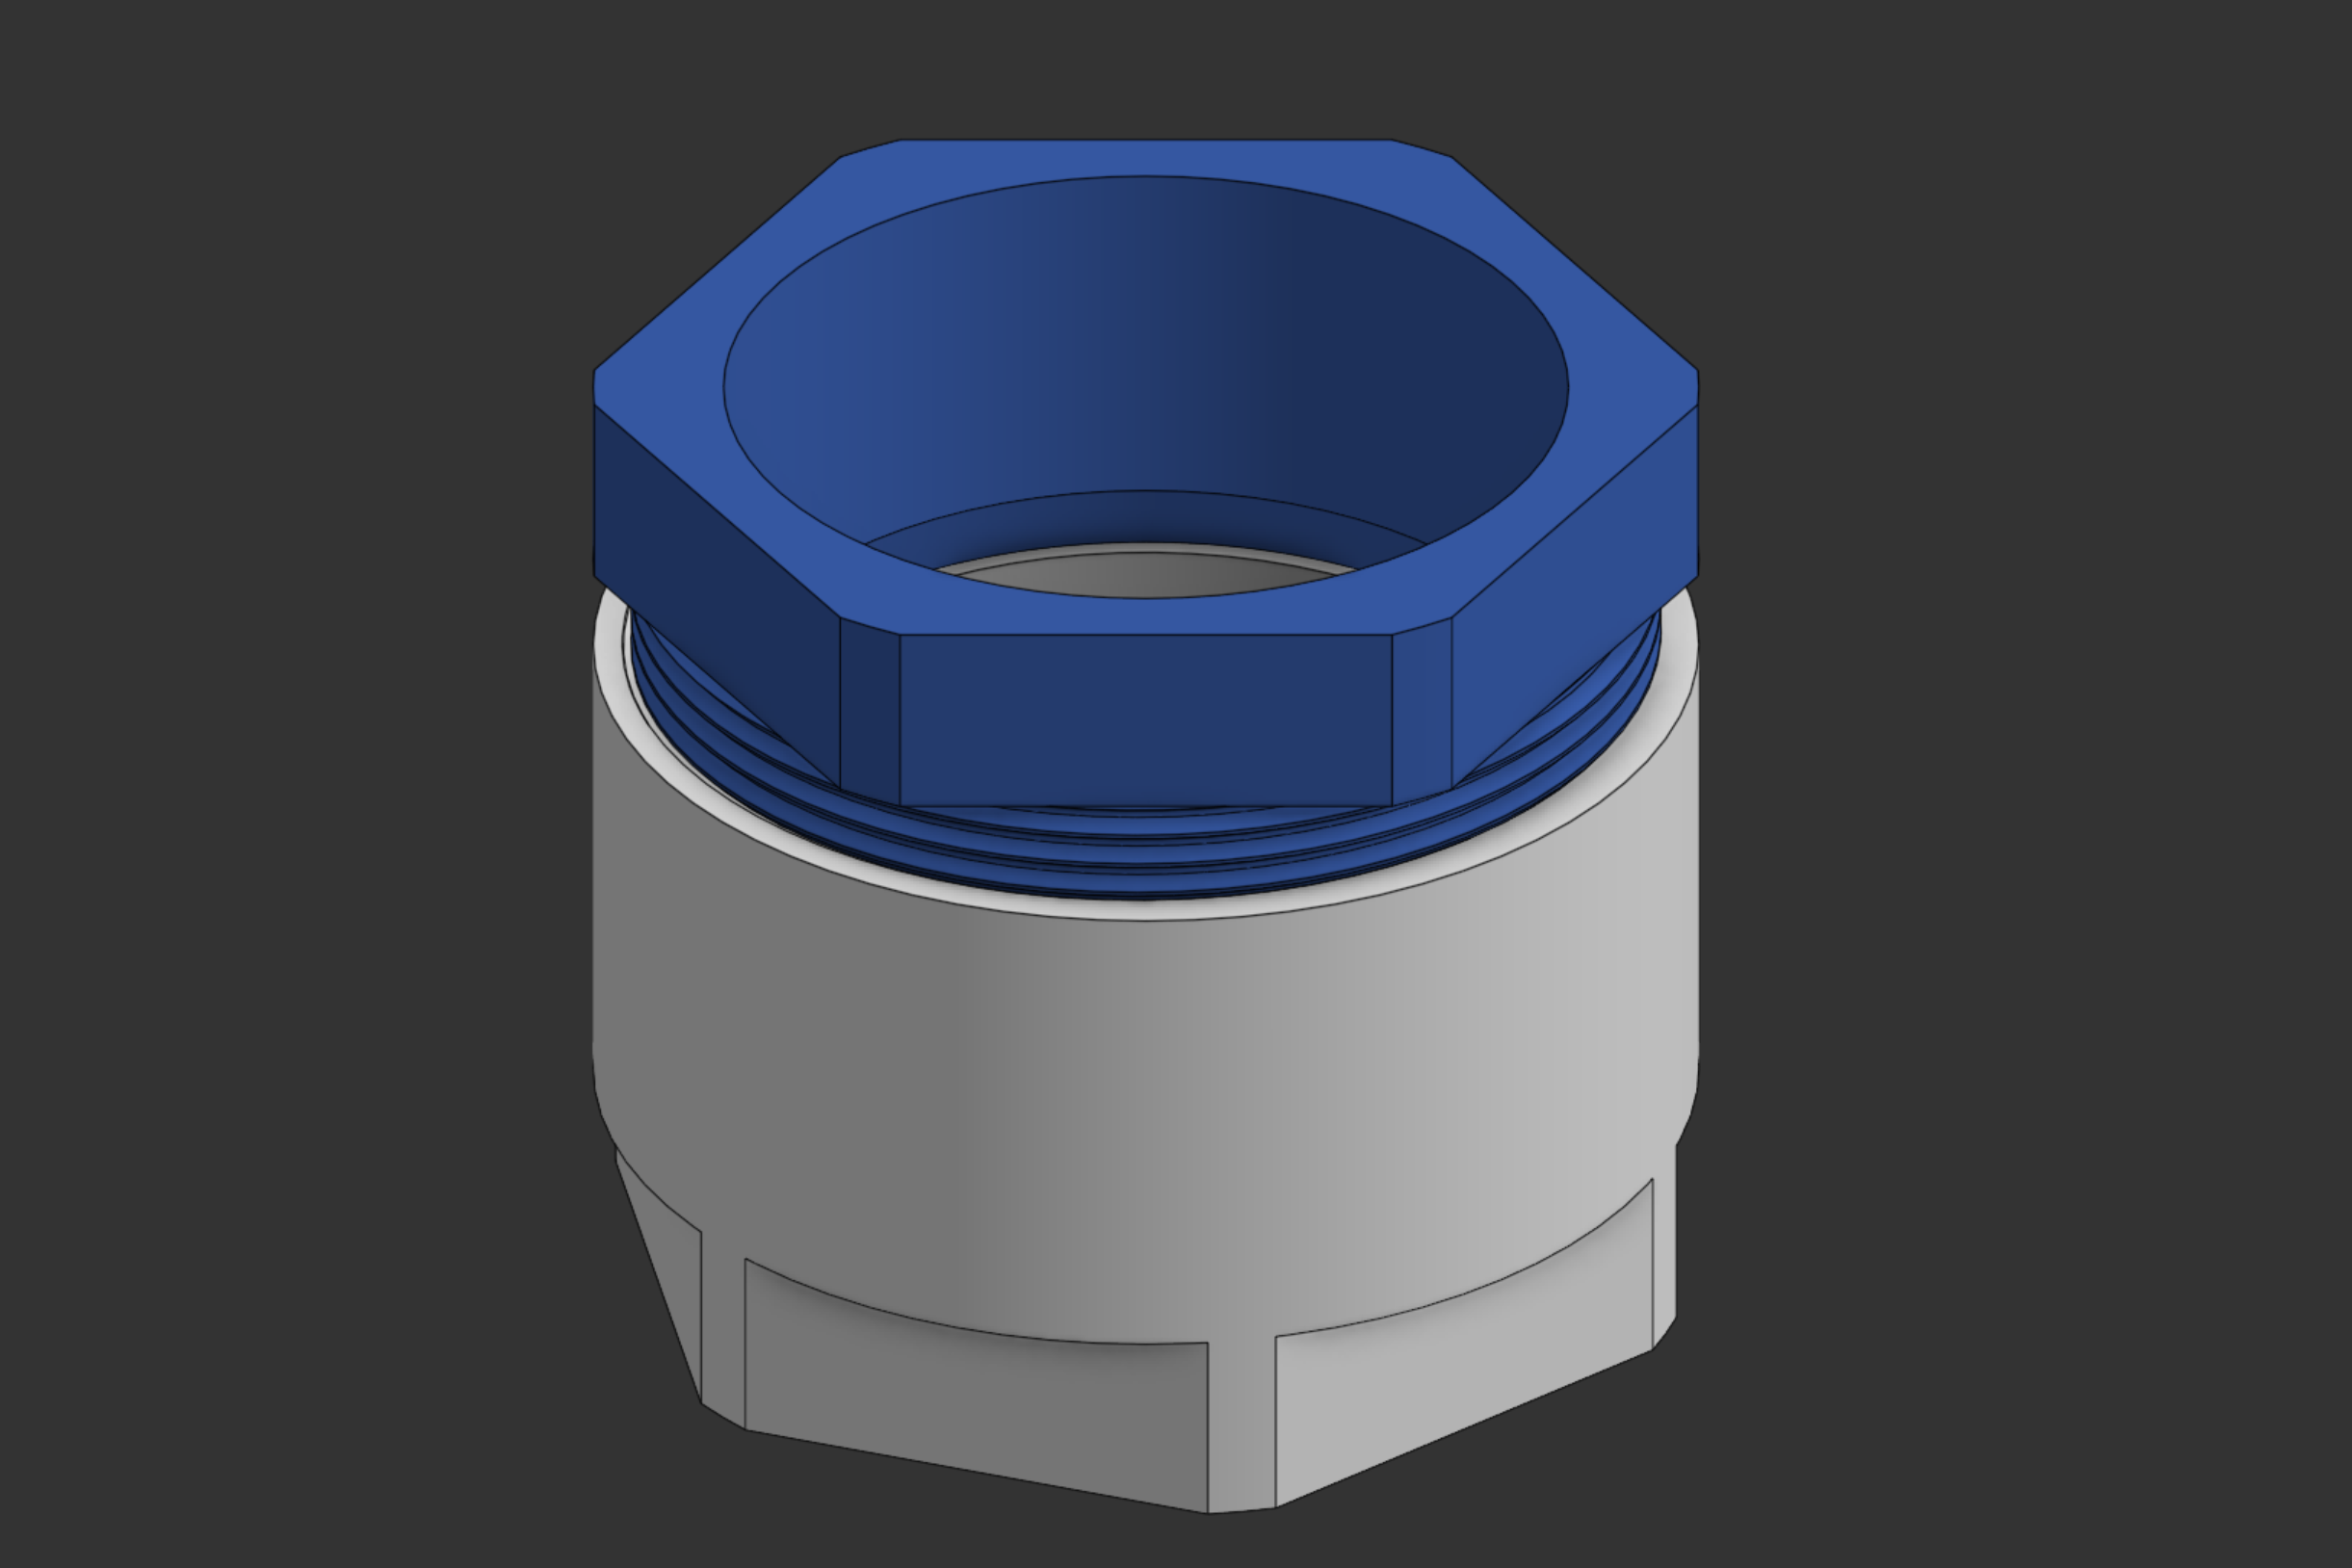
Co-op work at Apeiron Labs. The part had to do two jobs at once: act as the attachment point for a subassembly and act as a hard stop on an aluminum tube inside the vehicle. The hard constraint was clearance. There was almost no radial room around the tube, the tube was thin-walled, and the load it had to hold was large. Clamping a thin wall hard without crushing it, in almost no space, points pretty directly at a collet.
A collet works here because the clamping force comes from a taper rather than from a set screw or a band. Tightening the nut drives tapered segments inward, so the load spreads around the full circumference of the tube instead of concentrating at a point. That is what lets you get a lot of holding force onto a thin wall without denting it, and the whole mechanism lives in the thickness of the nut.
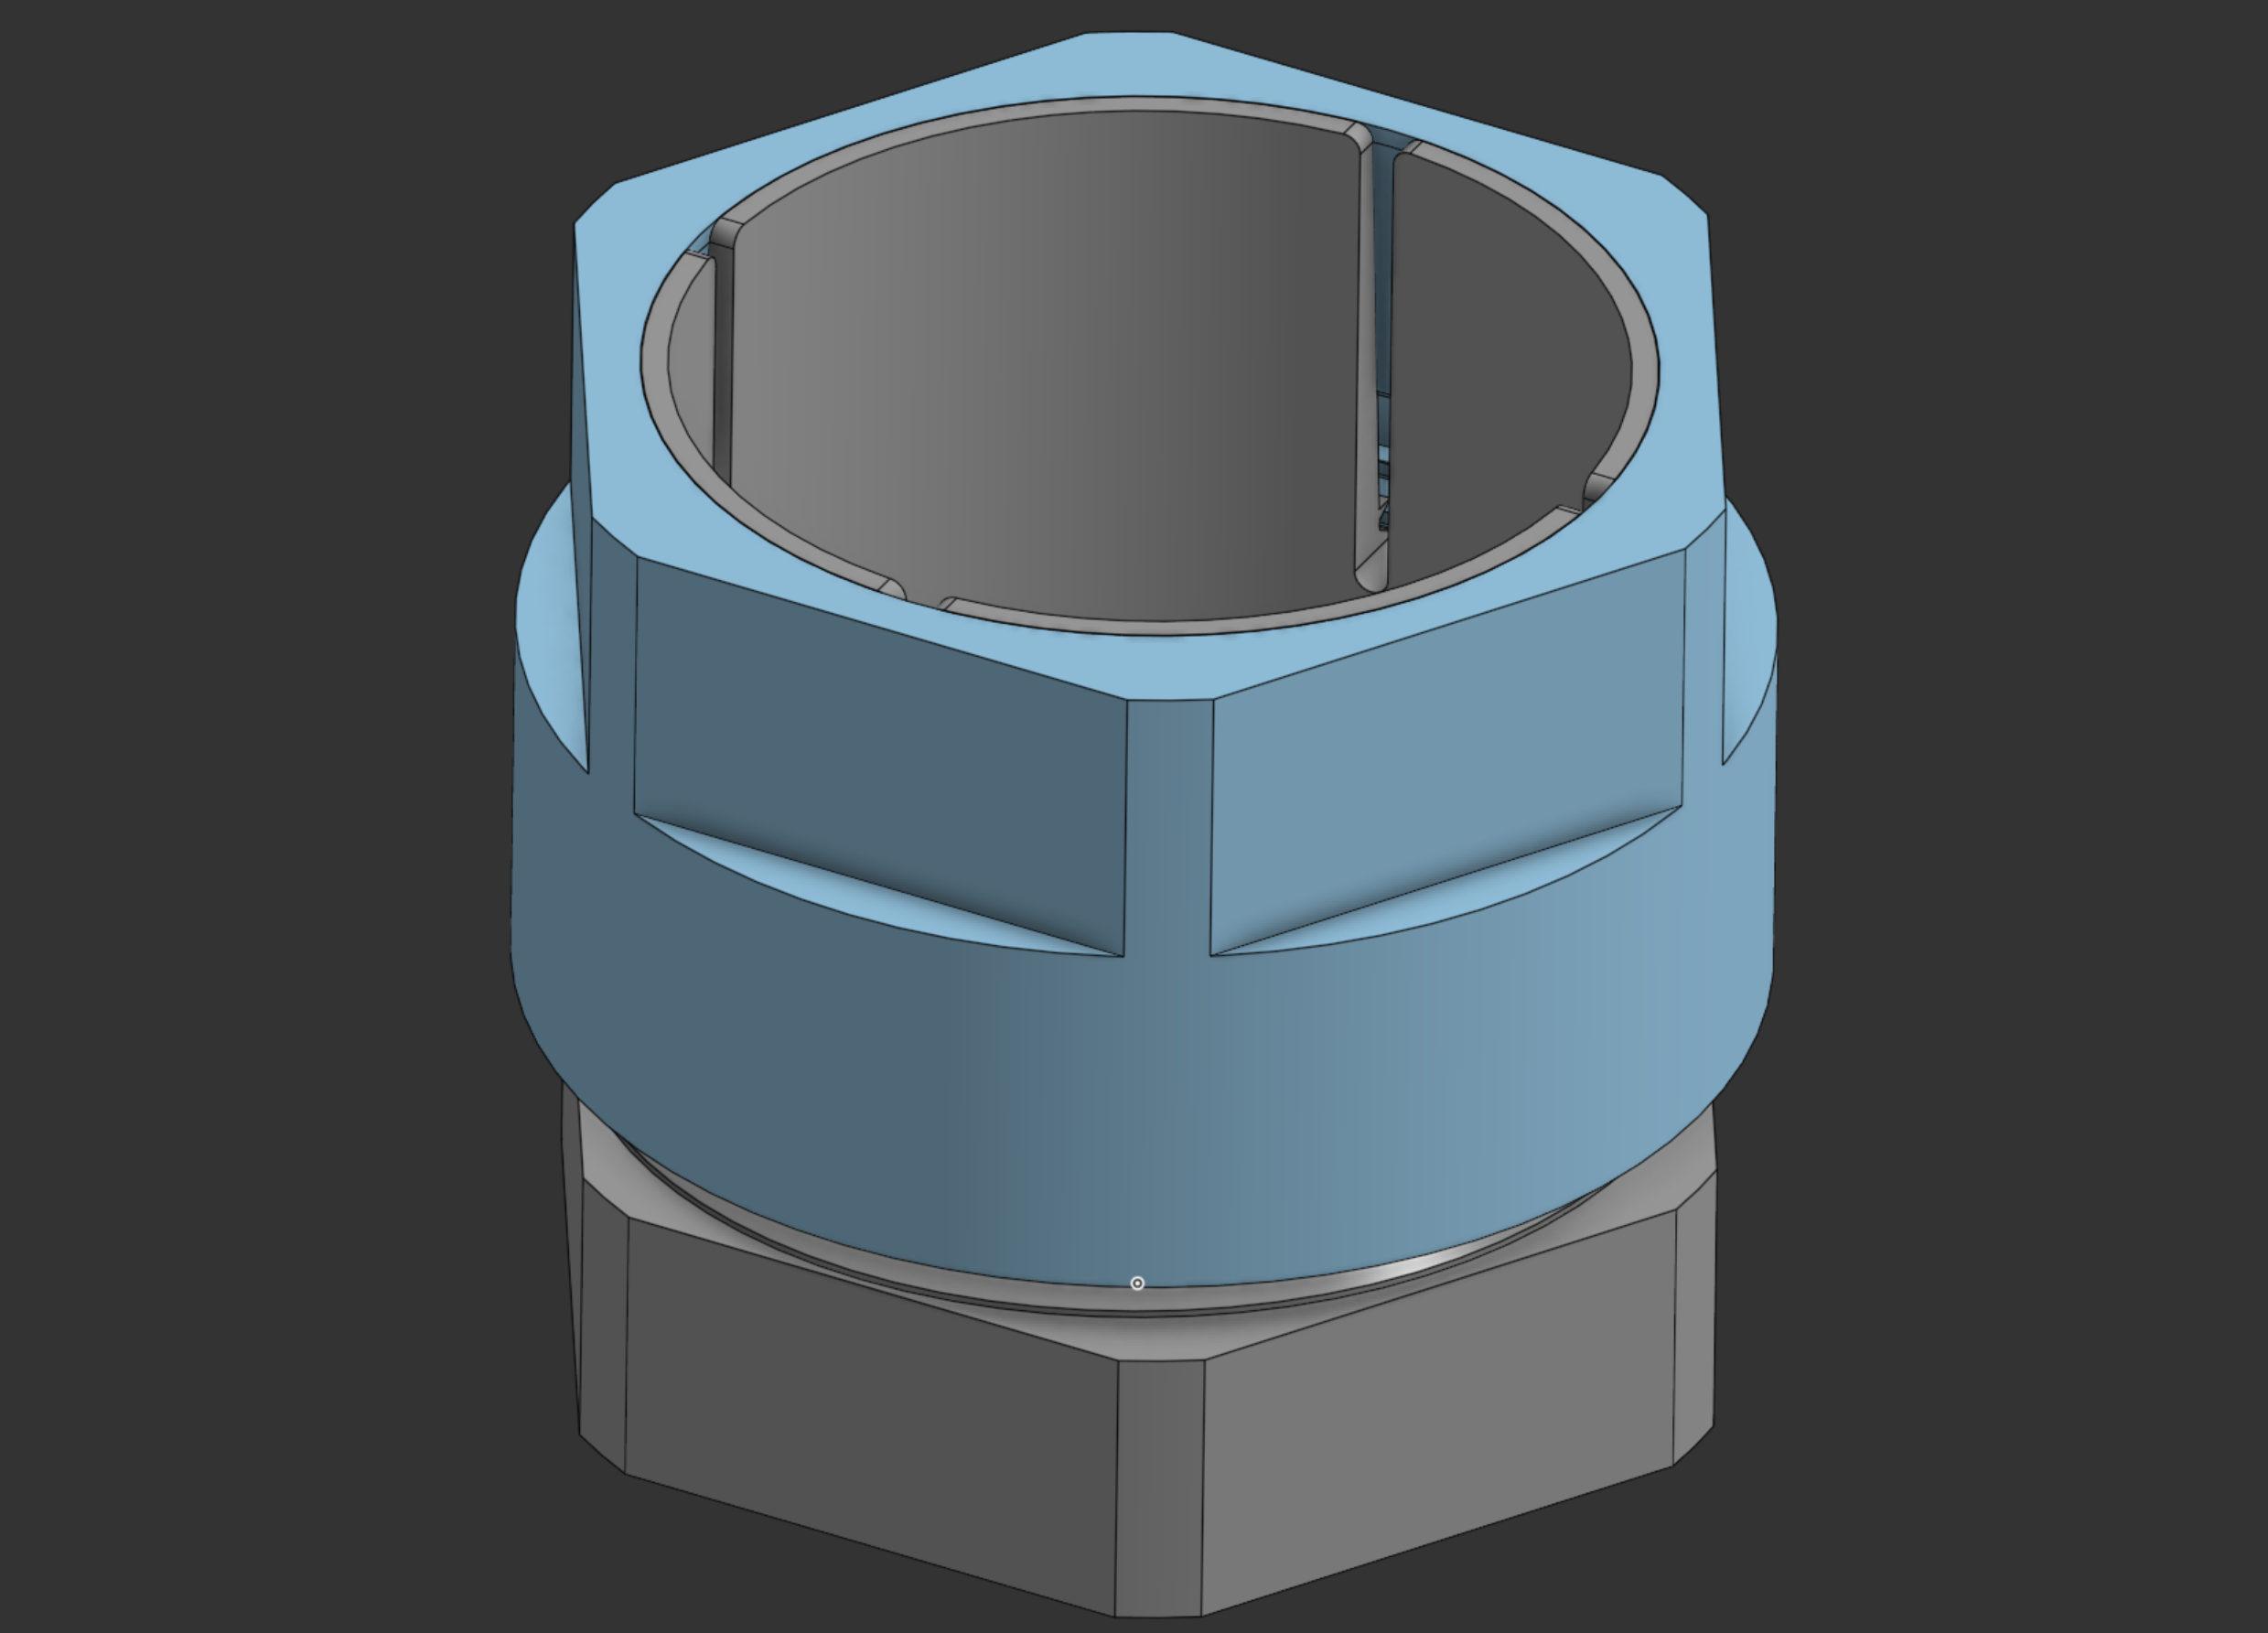
I went through a lot of variations, on geometry and on materials. The version that stuck uses aluminum for the external parts and steel for the internal ones.
I also built a variation around a modified commercial off-the-shelf part, purely to get something clamping on a tube sooner. Starting from a COTS collet meant I could test the clamping concept without waiting on custom parts.
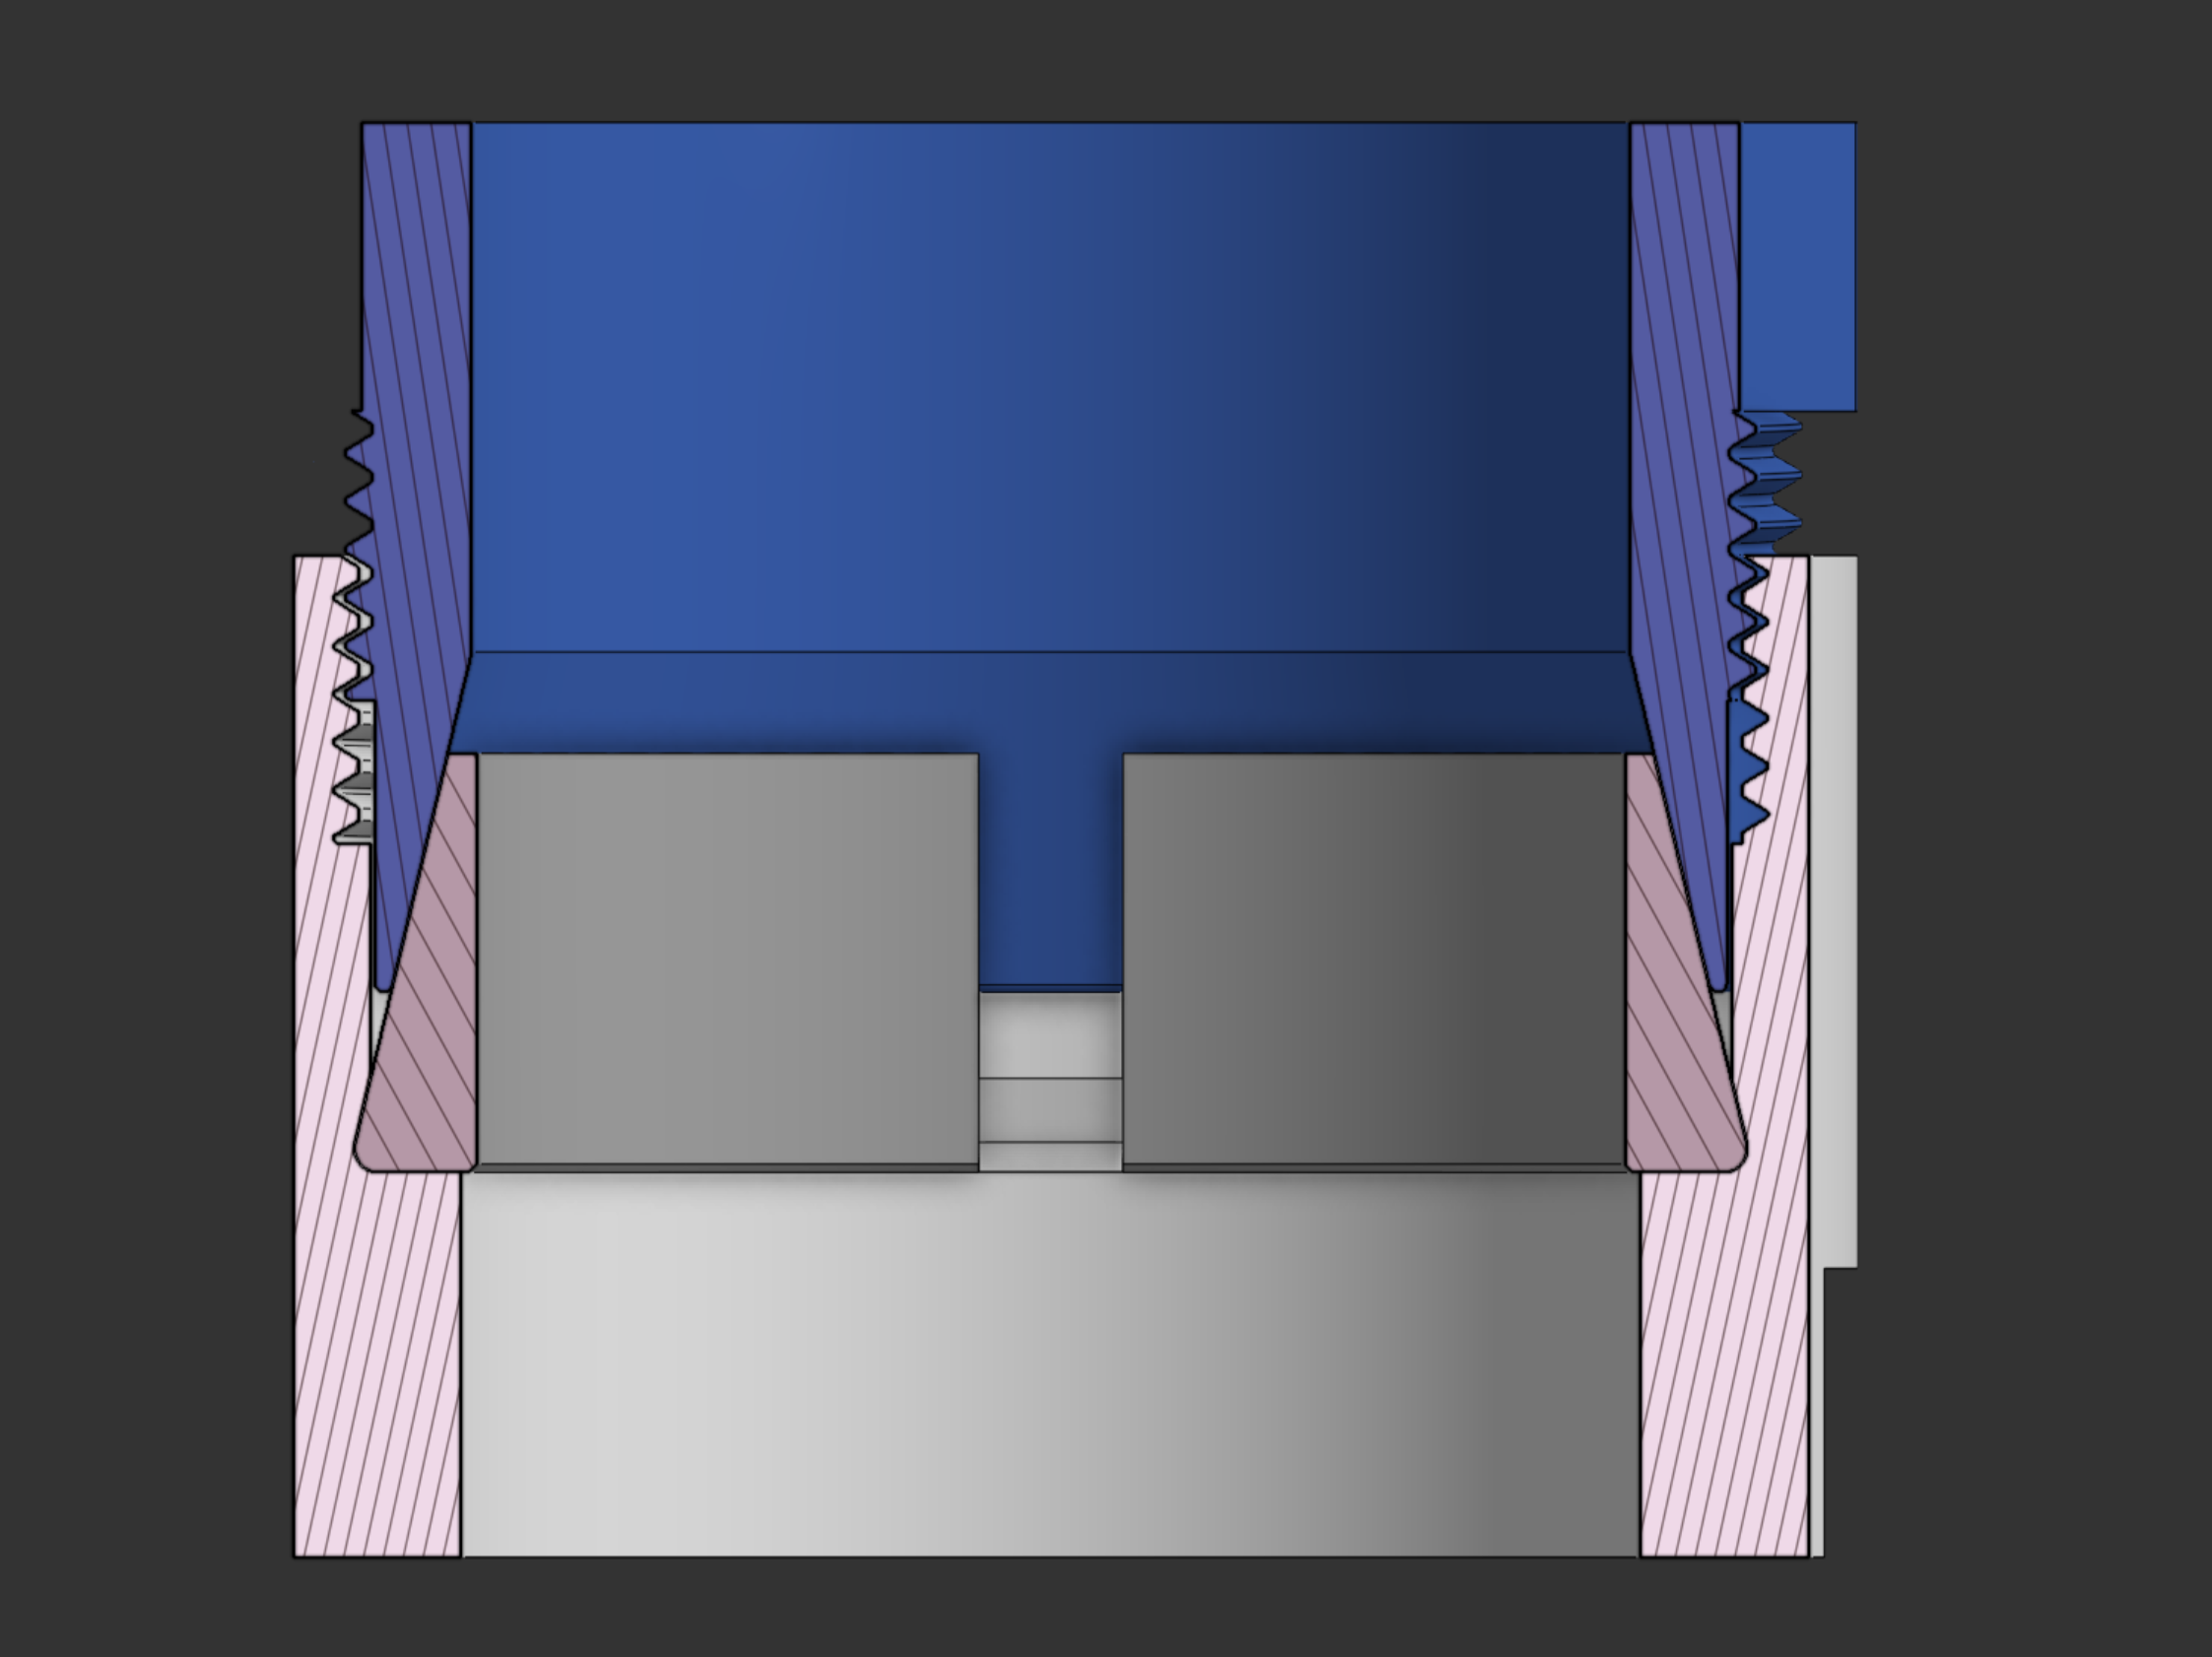
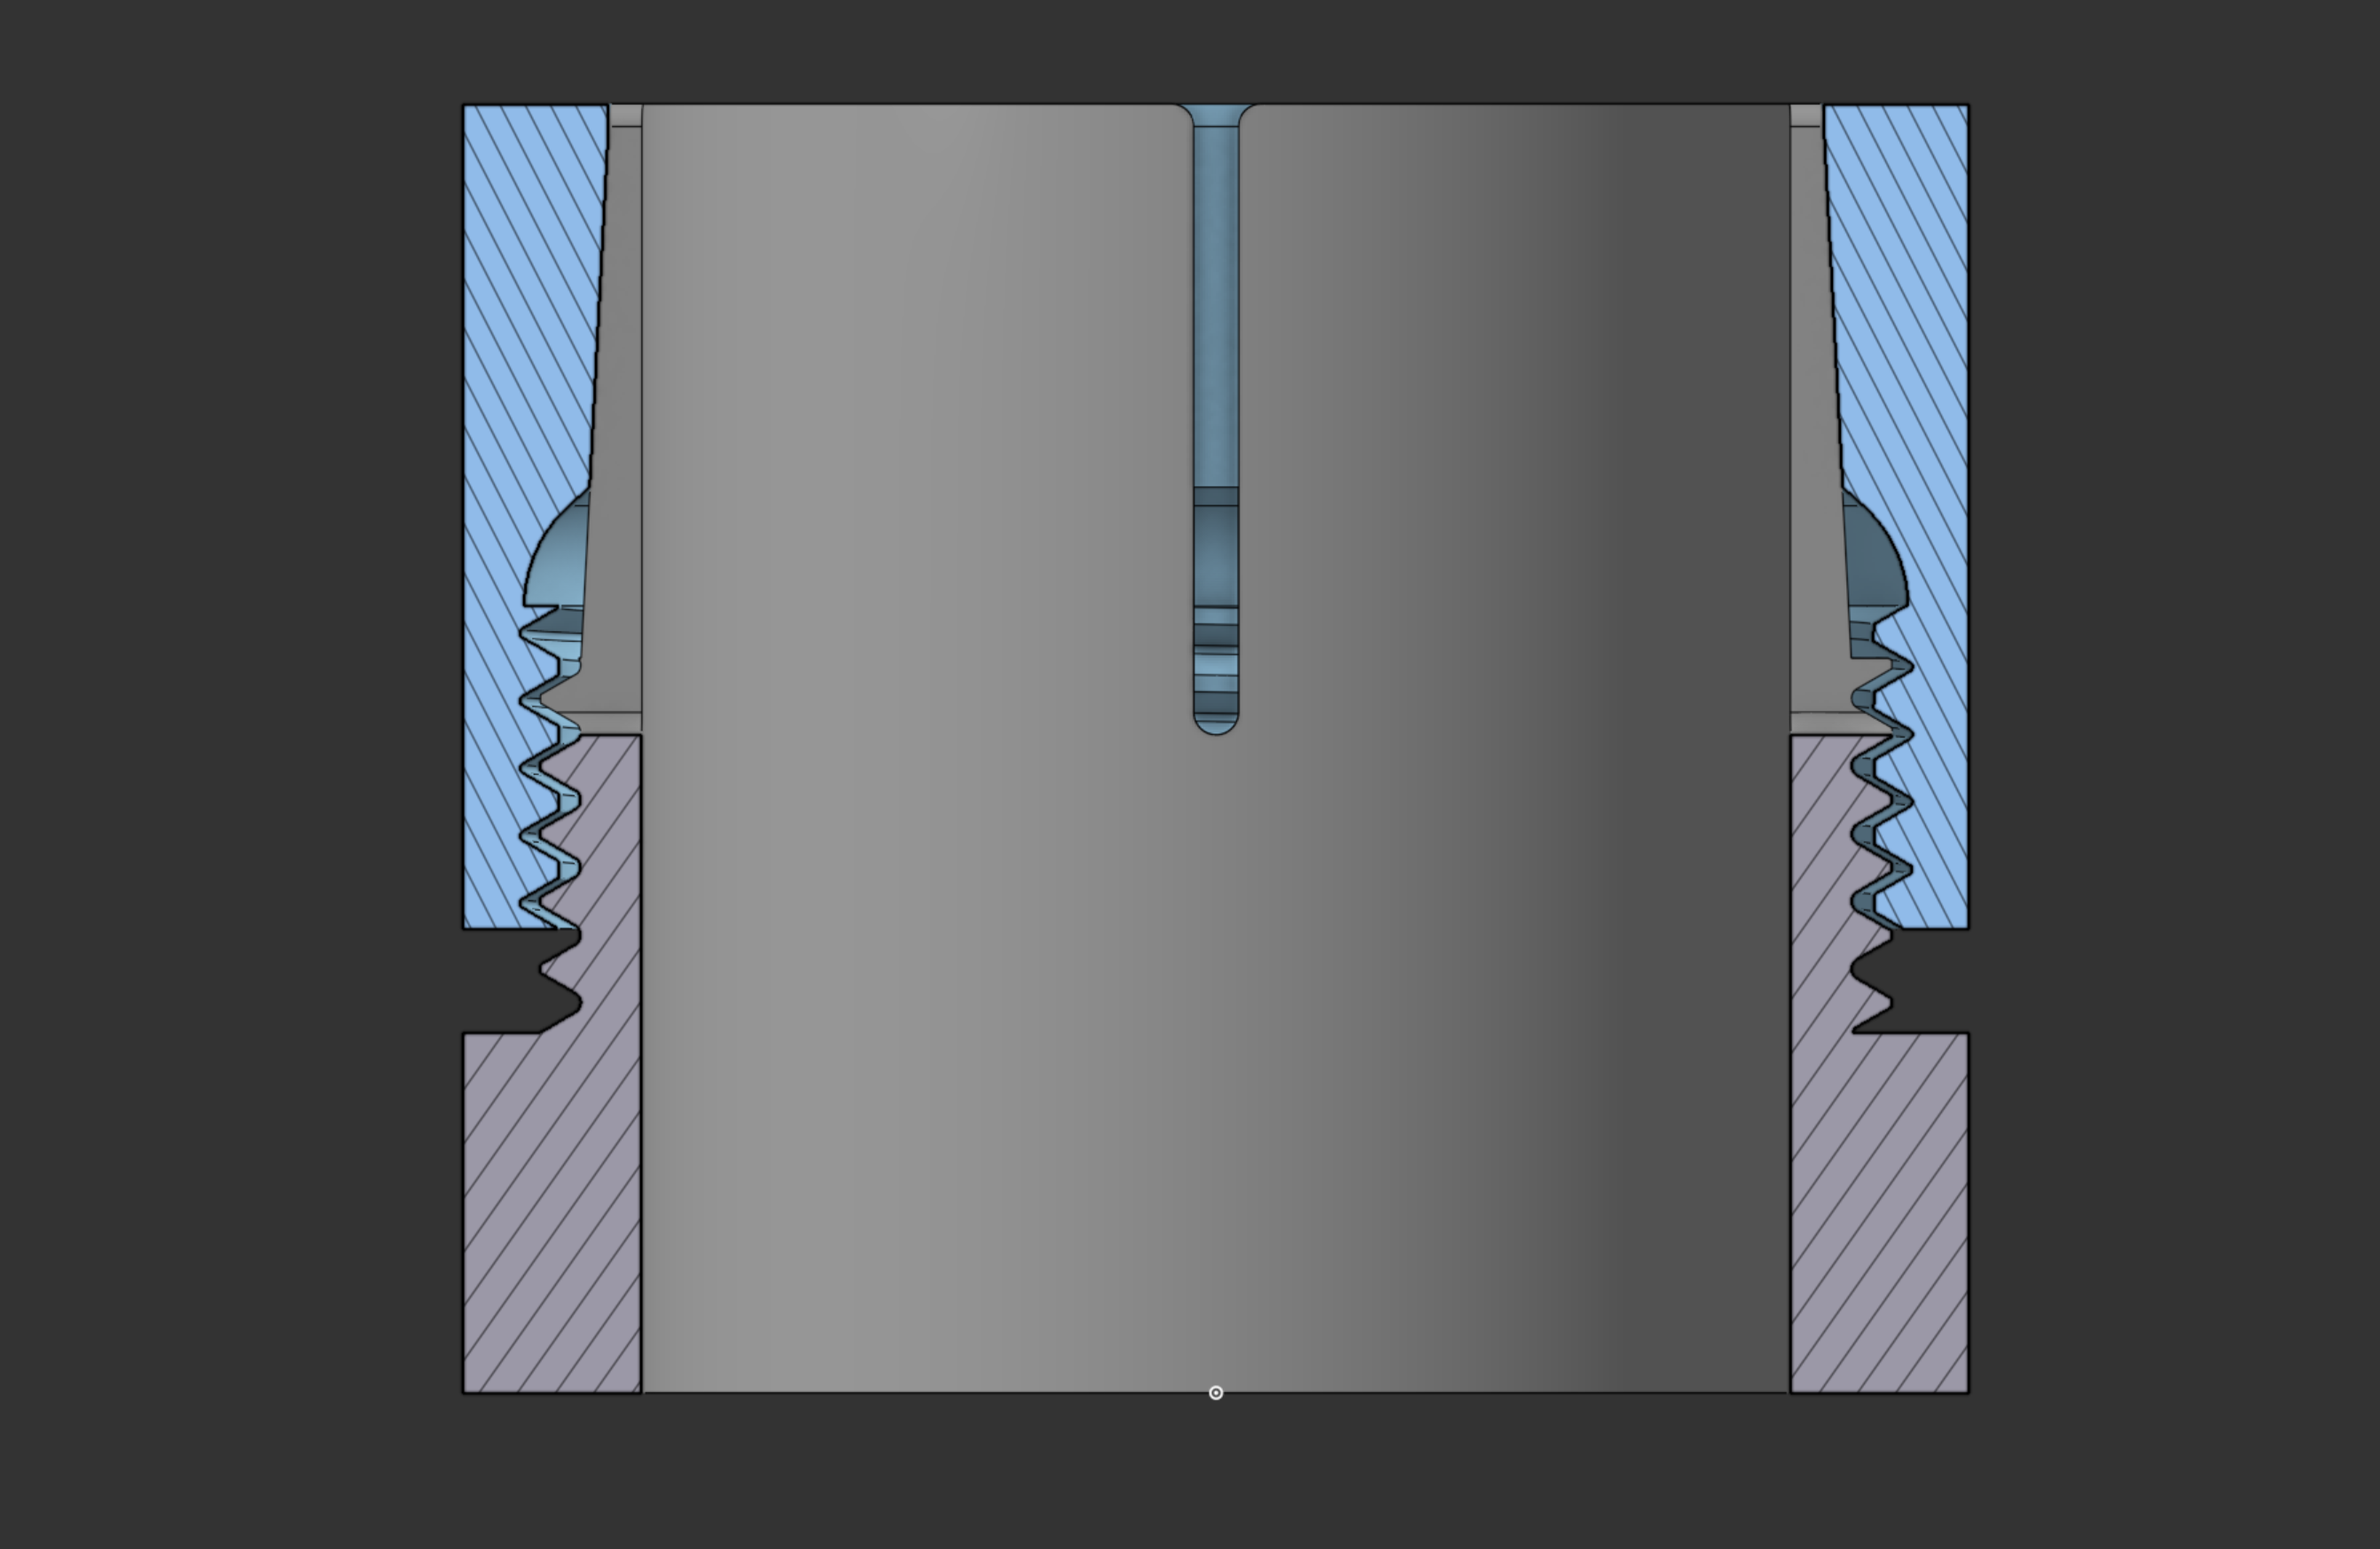
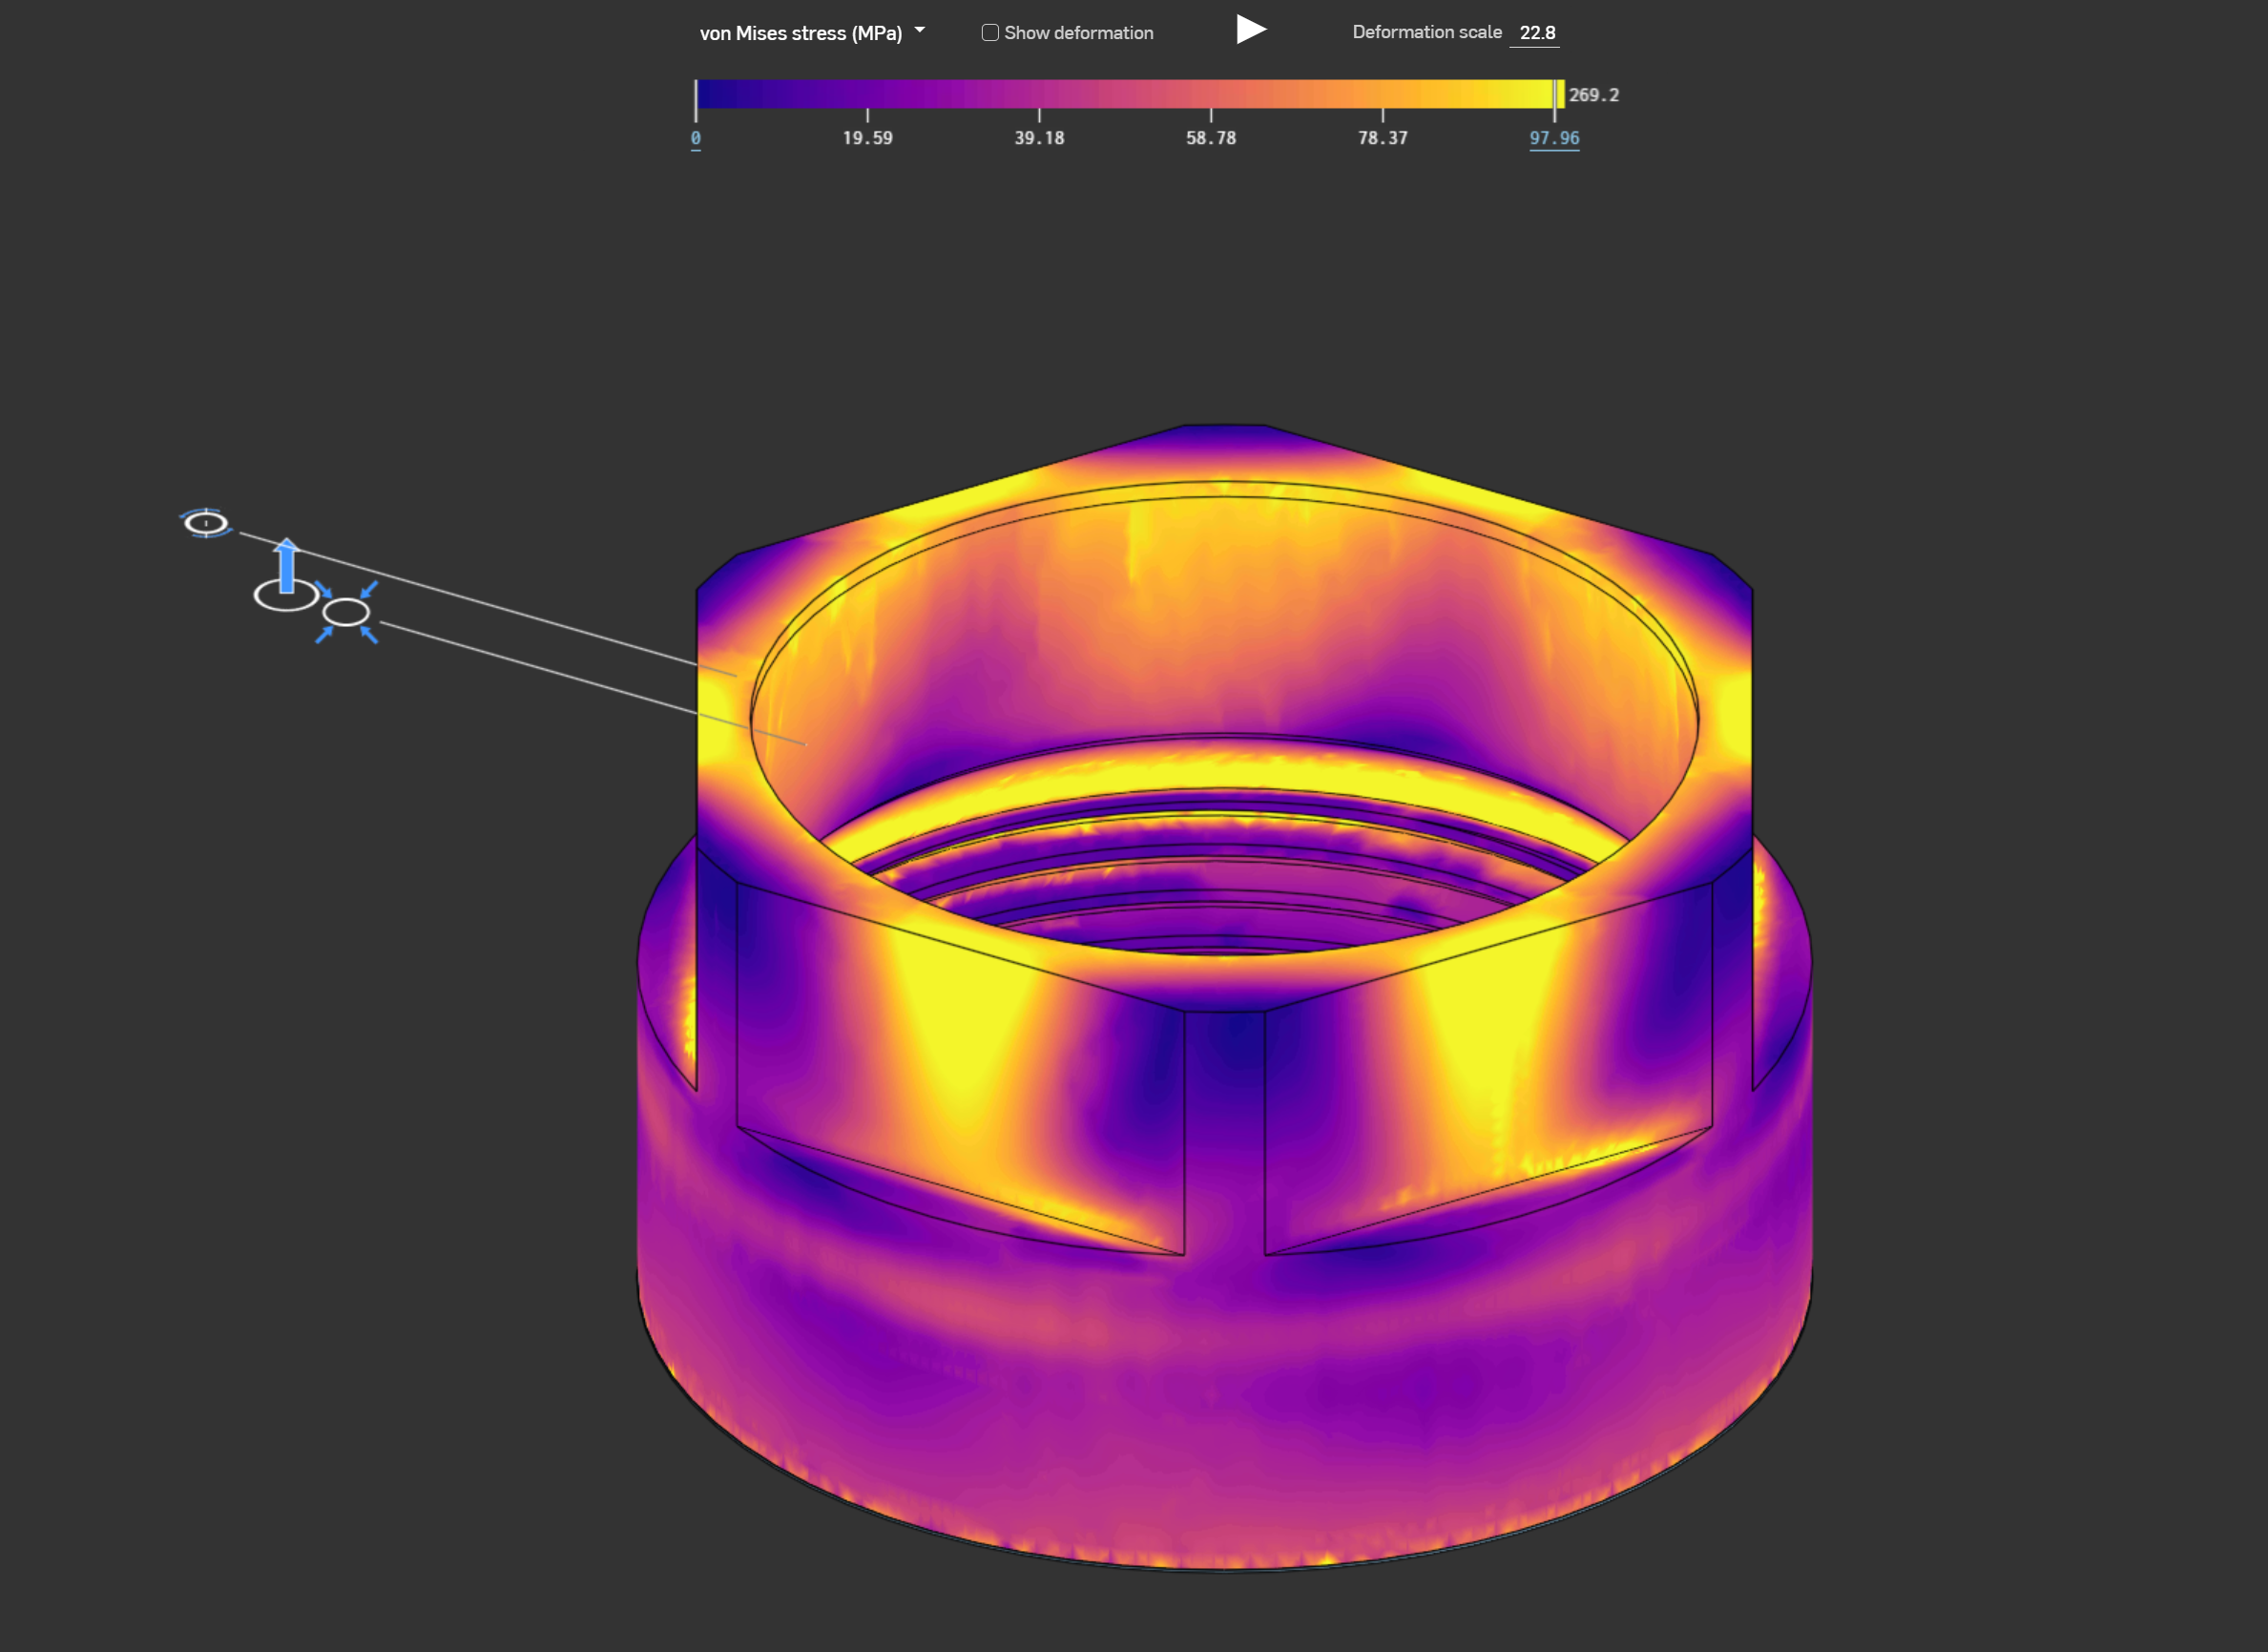
I ran FEA in Onshape’s simulation to check factor of safety and to predict where stress was going to concentrate, which was worth doing before committing to metal parts.
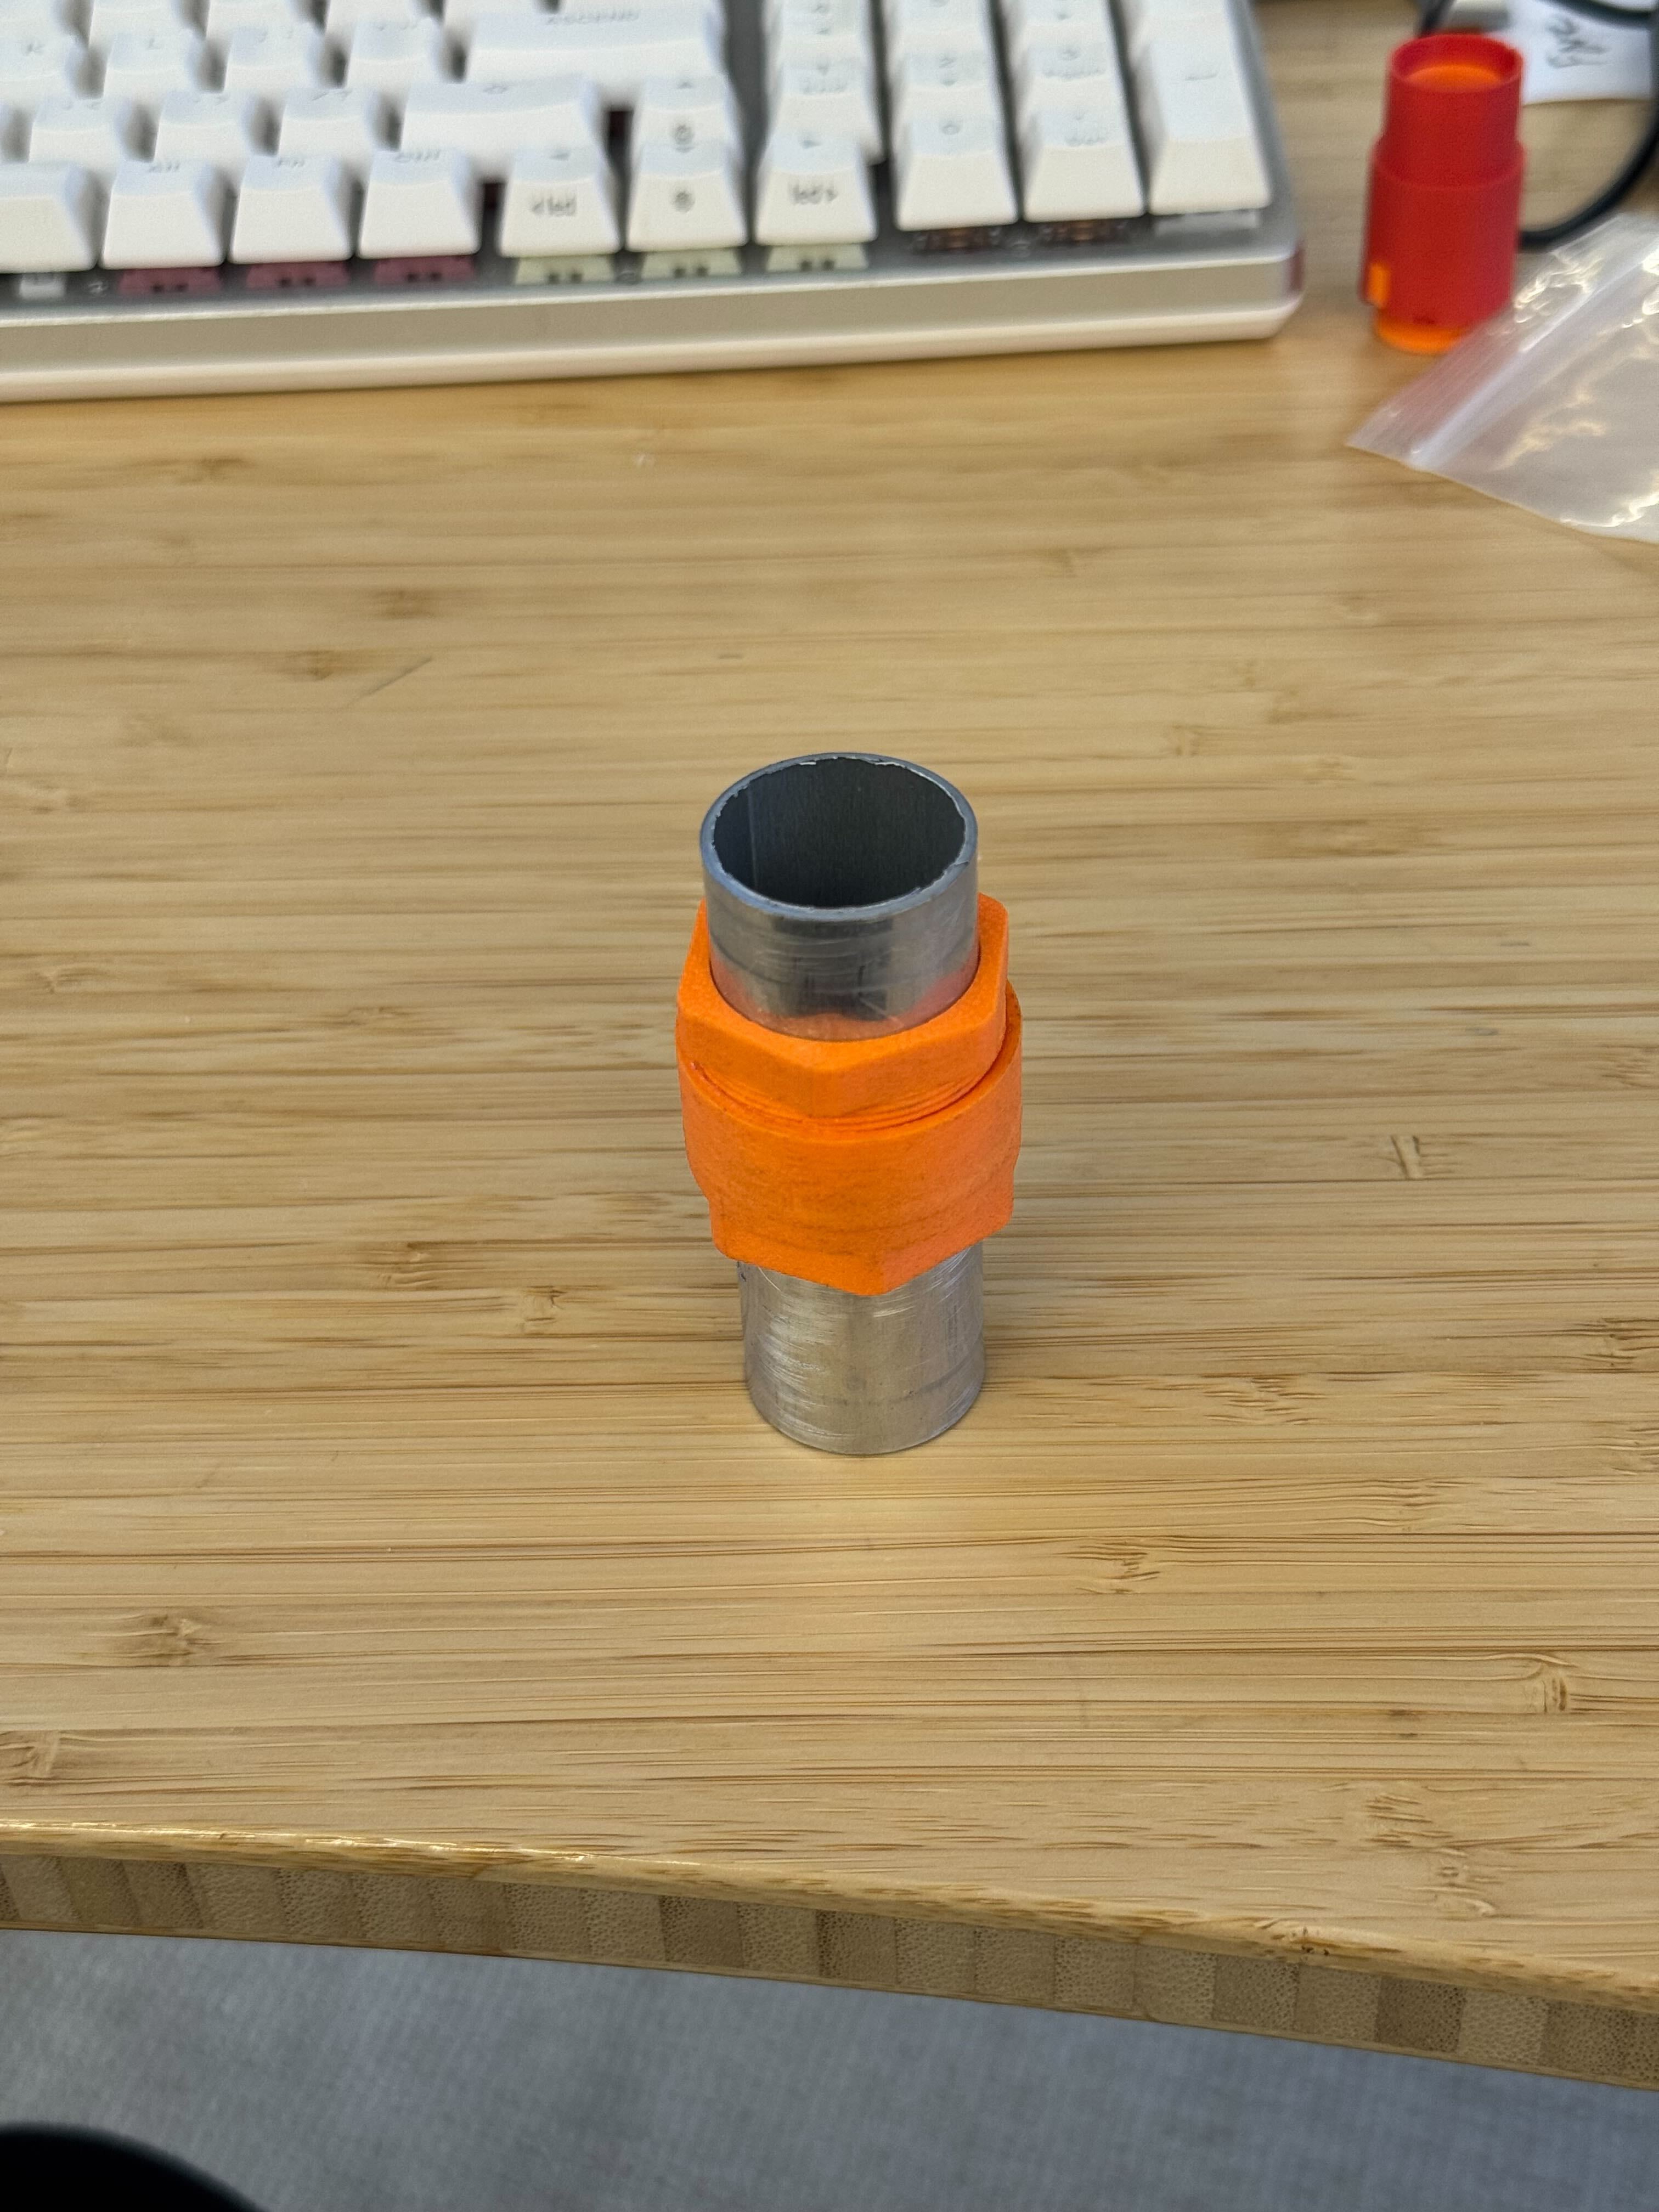
Before any of that, I printed the geometry in FDM to check that the thing was viable at all: that the segments moved the way I expected, that it assembled, and that it actually gripped a tube.
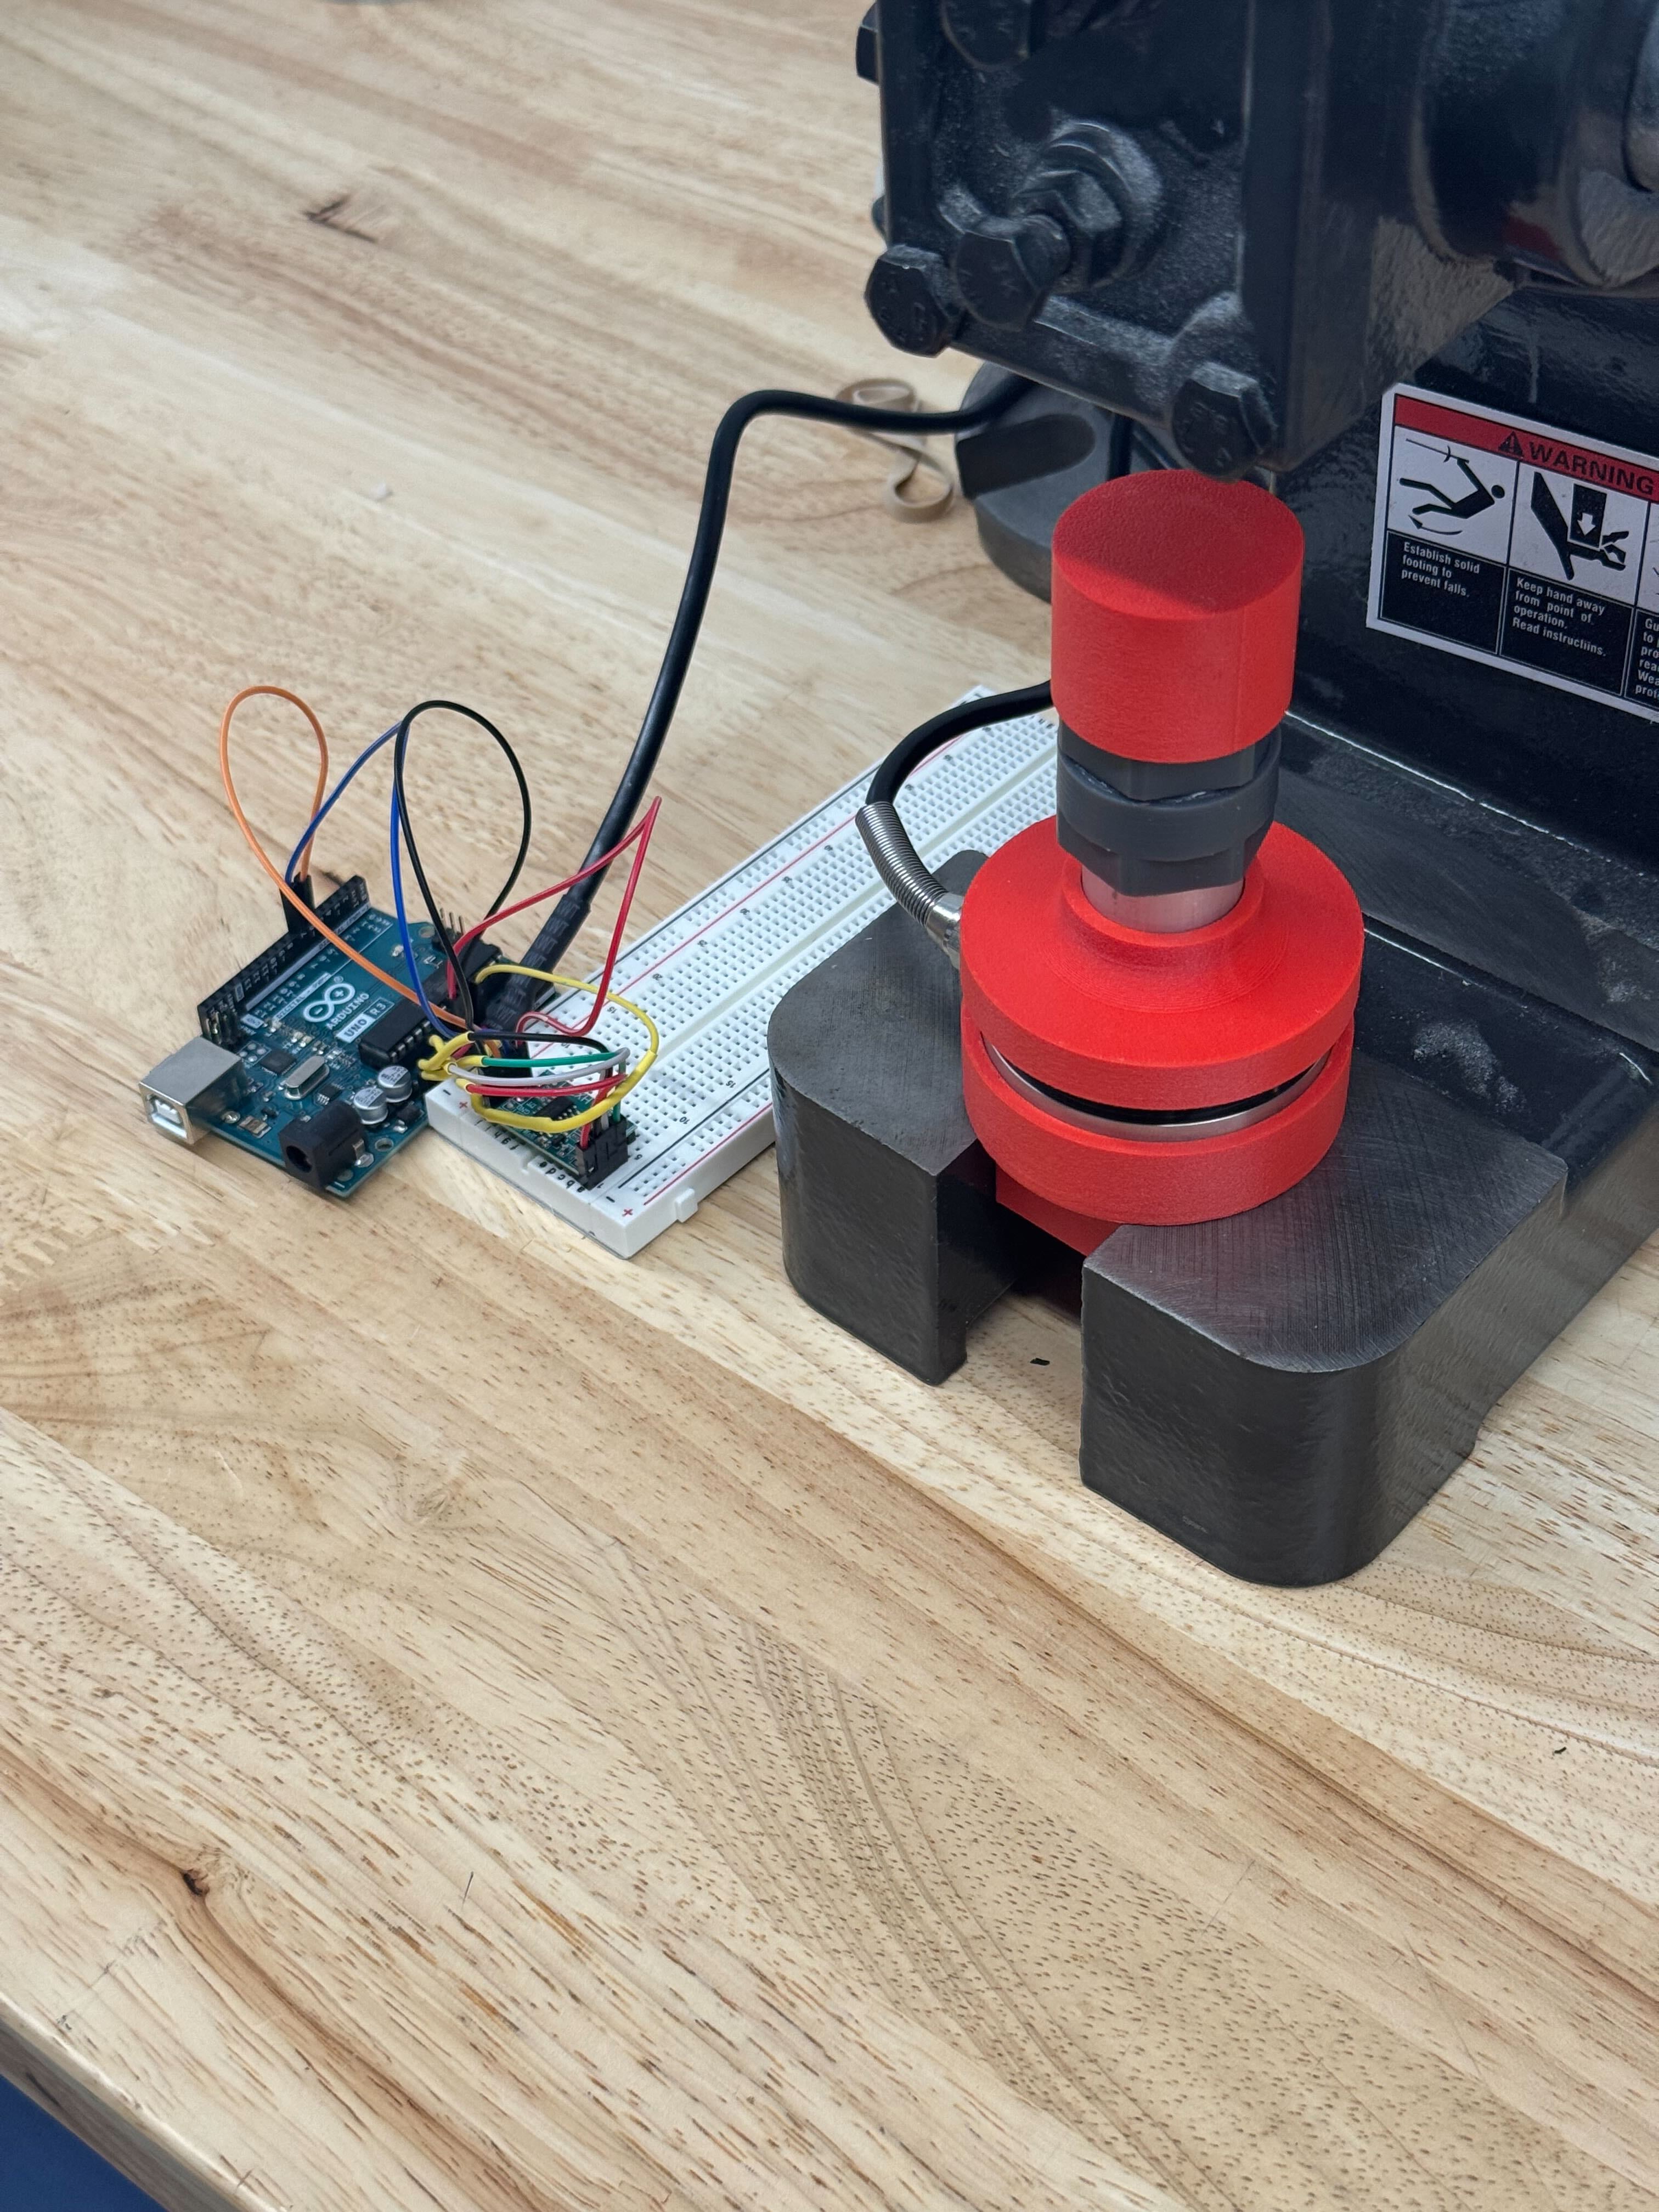
The FEA tells you what should happen, and the printed part tells you it assembles, but neither tells you how much clamping force you actually get. So I designed a fixture to measure it. It drops into an arbor press we already had, which saved building a load frame from scratch, and reads force through a 500 kg load cell with an HX711 ADC/amplifier. I calibrated it against known weights so the readings meant something.
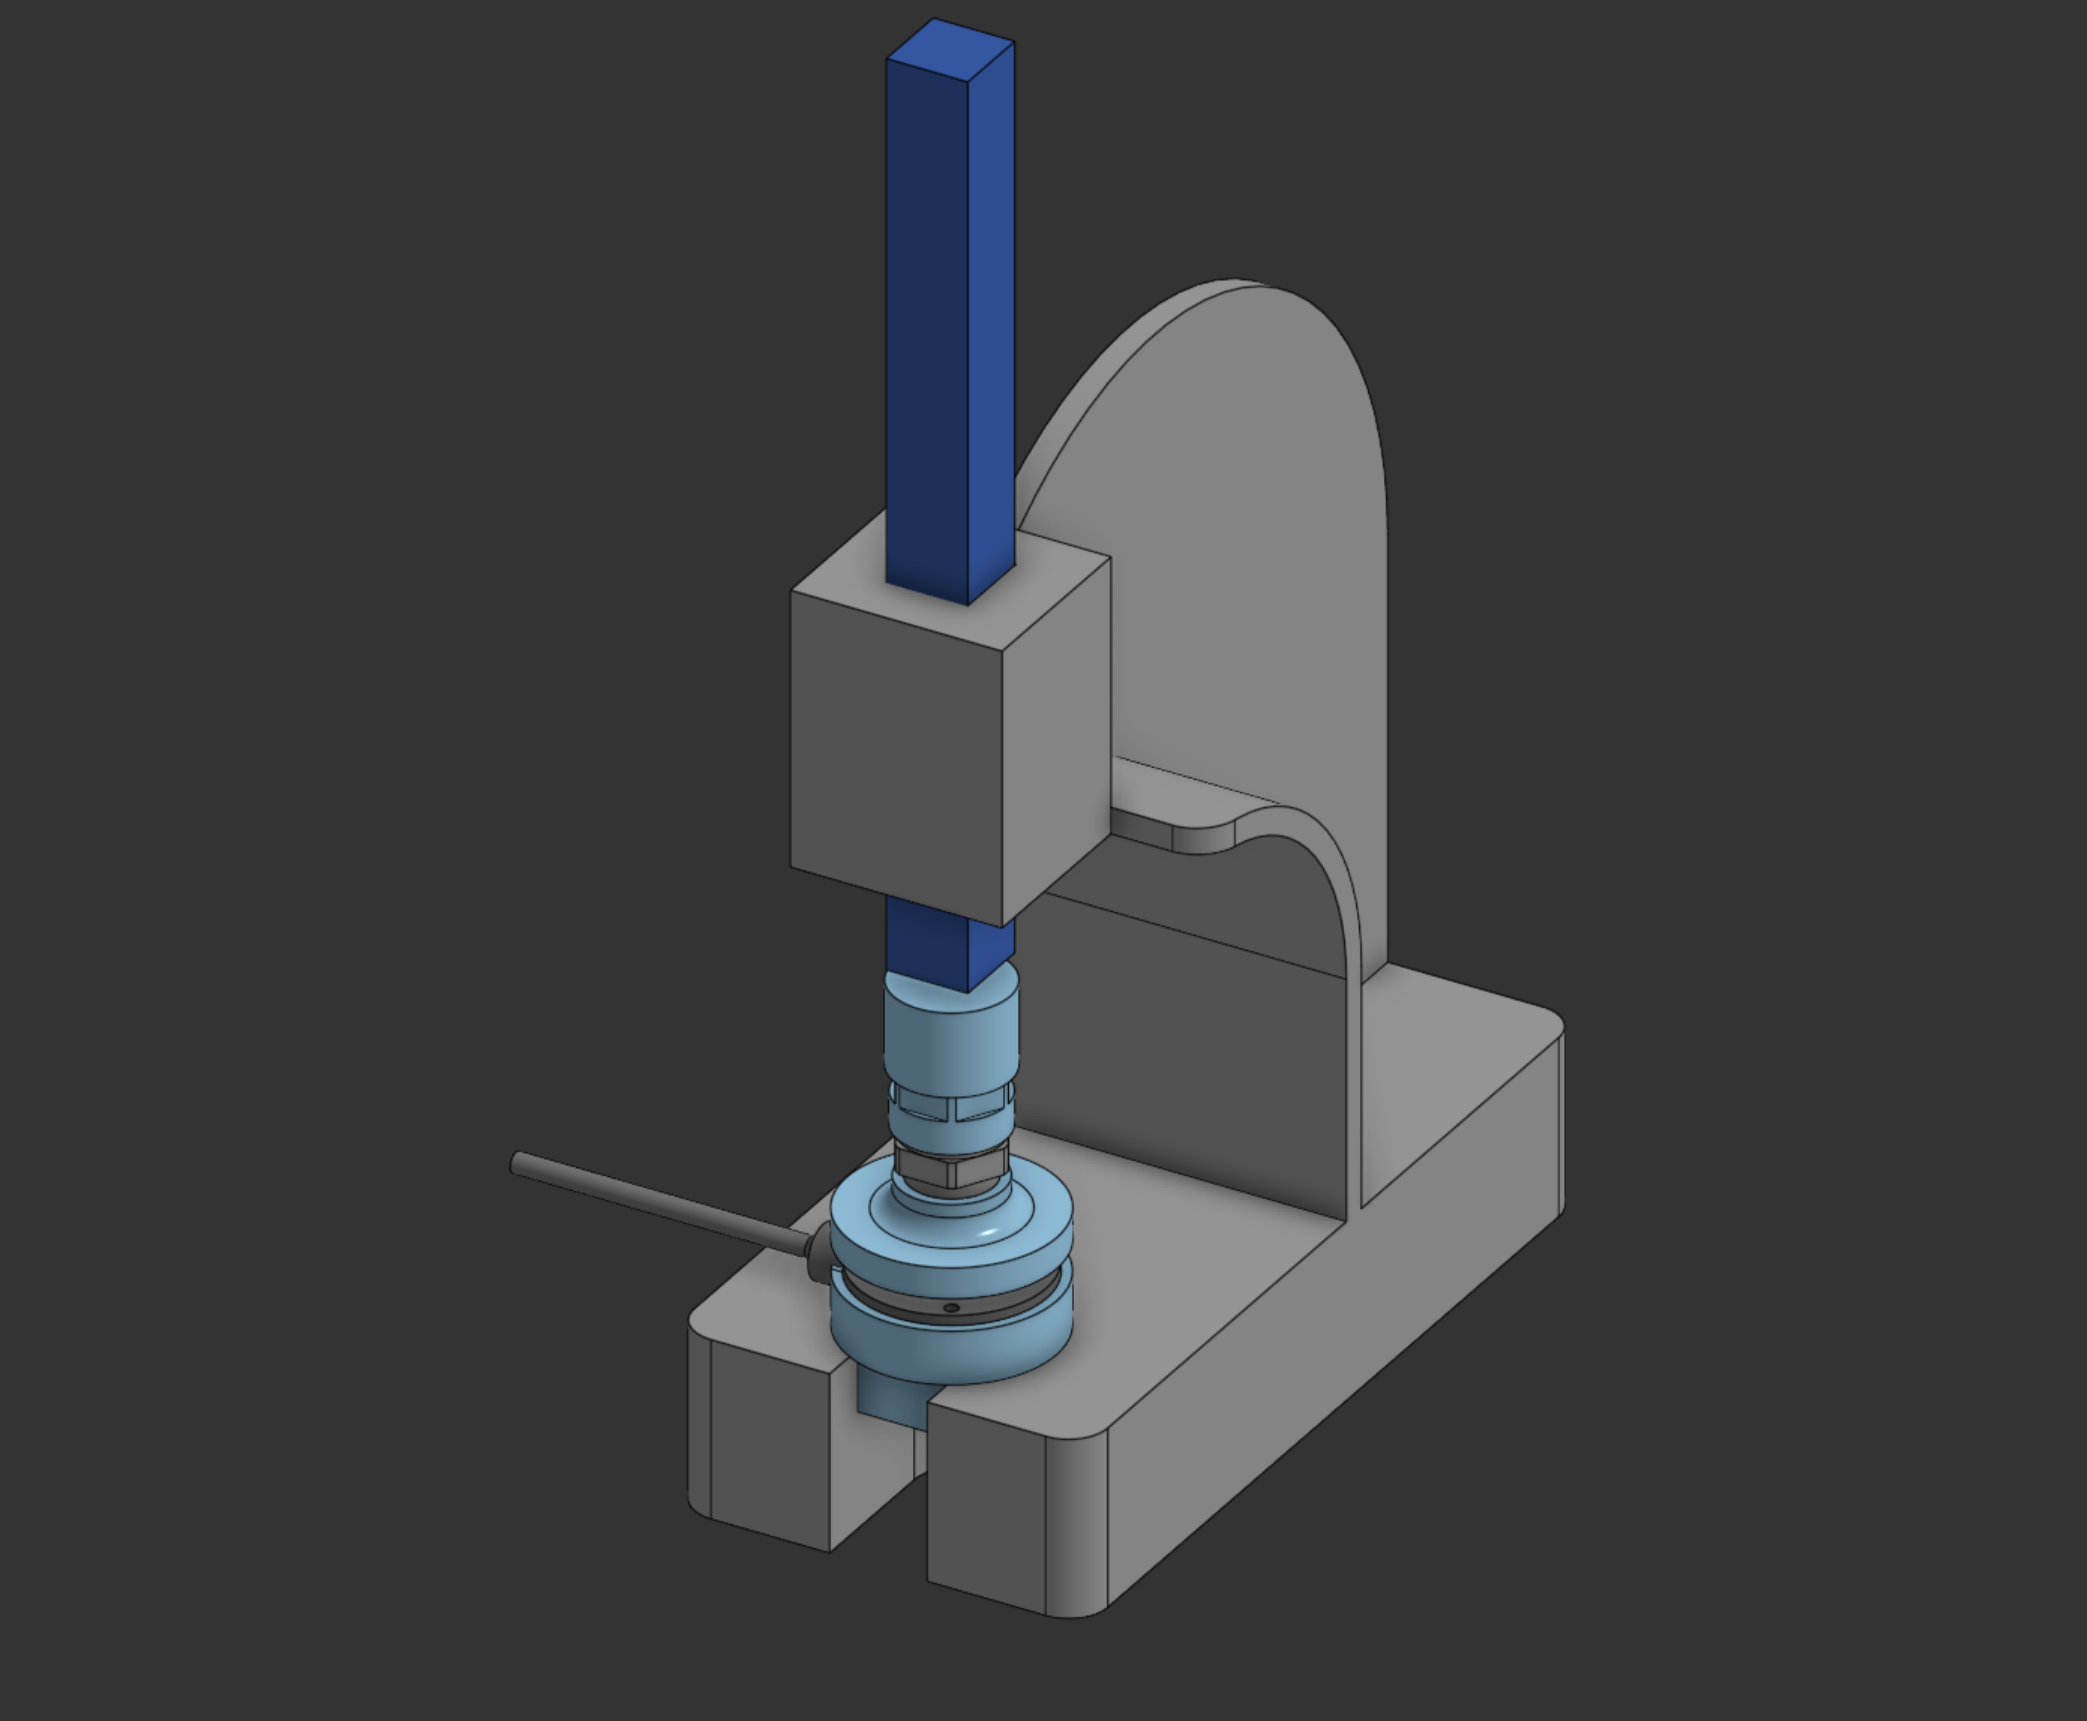
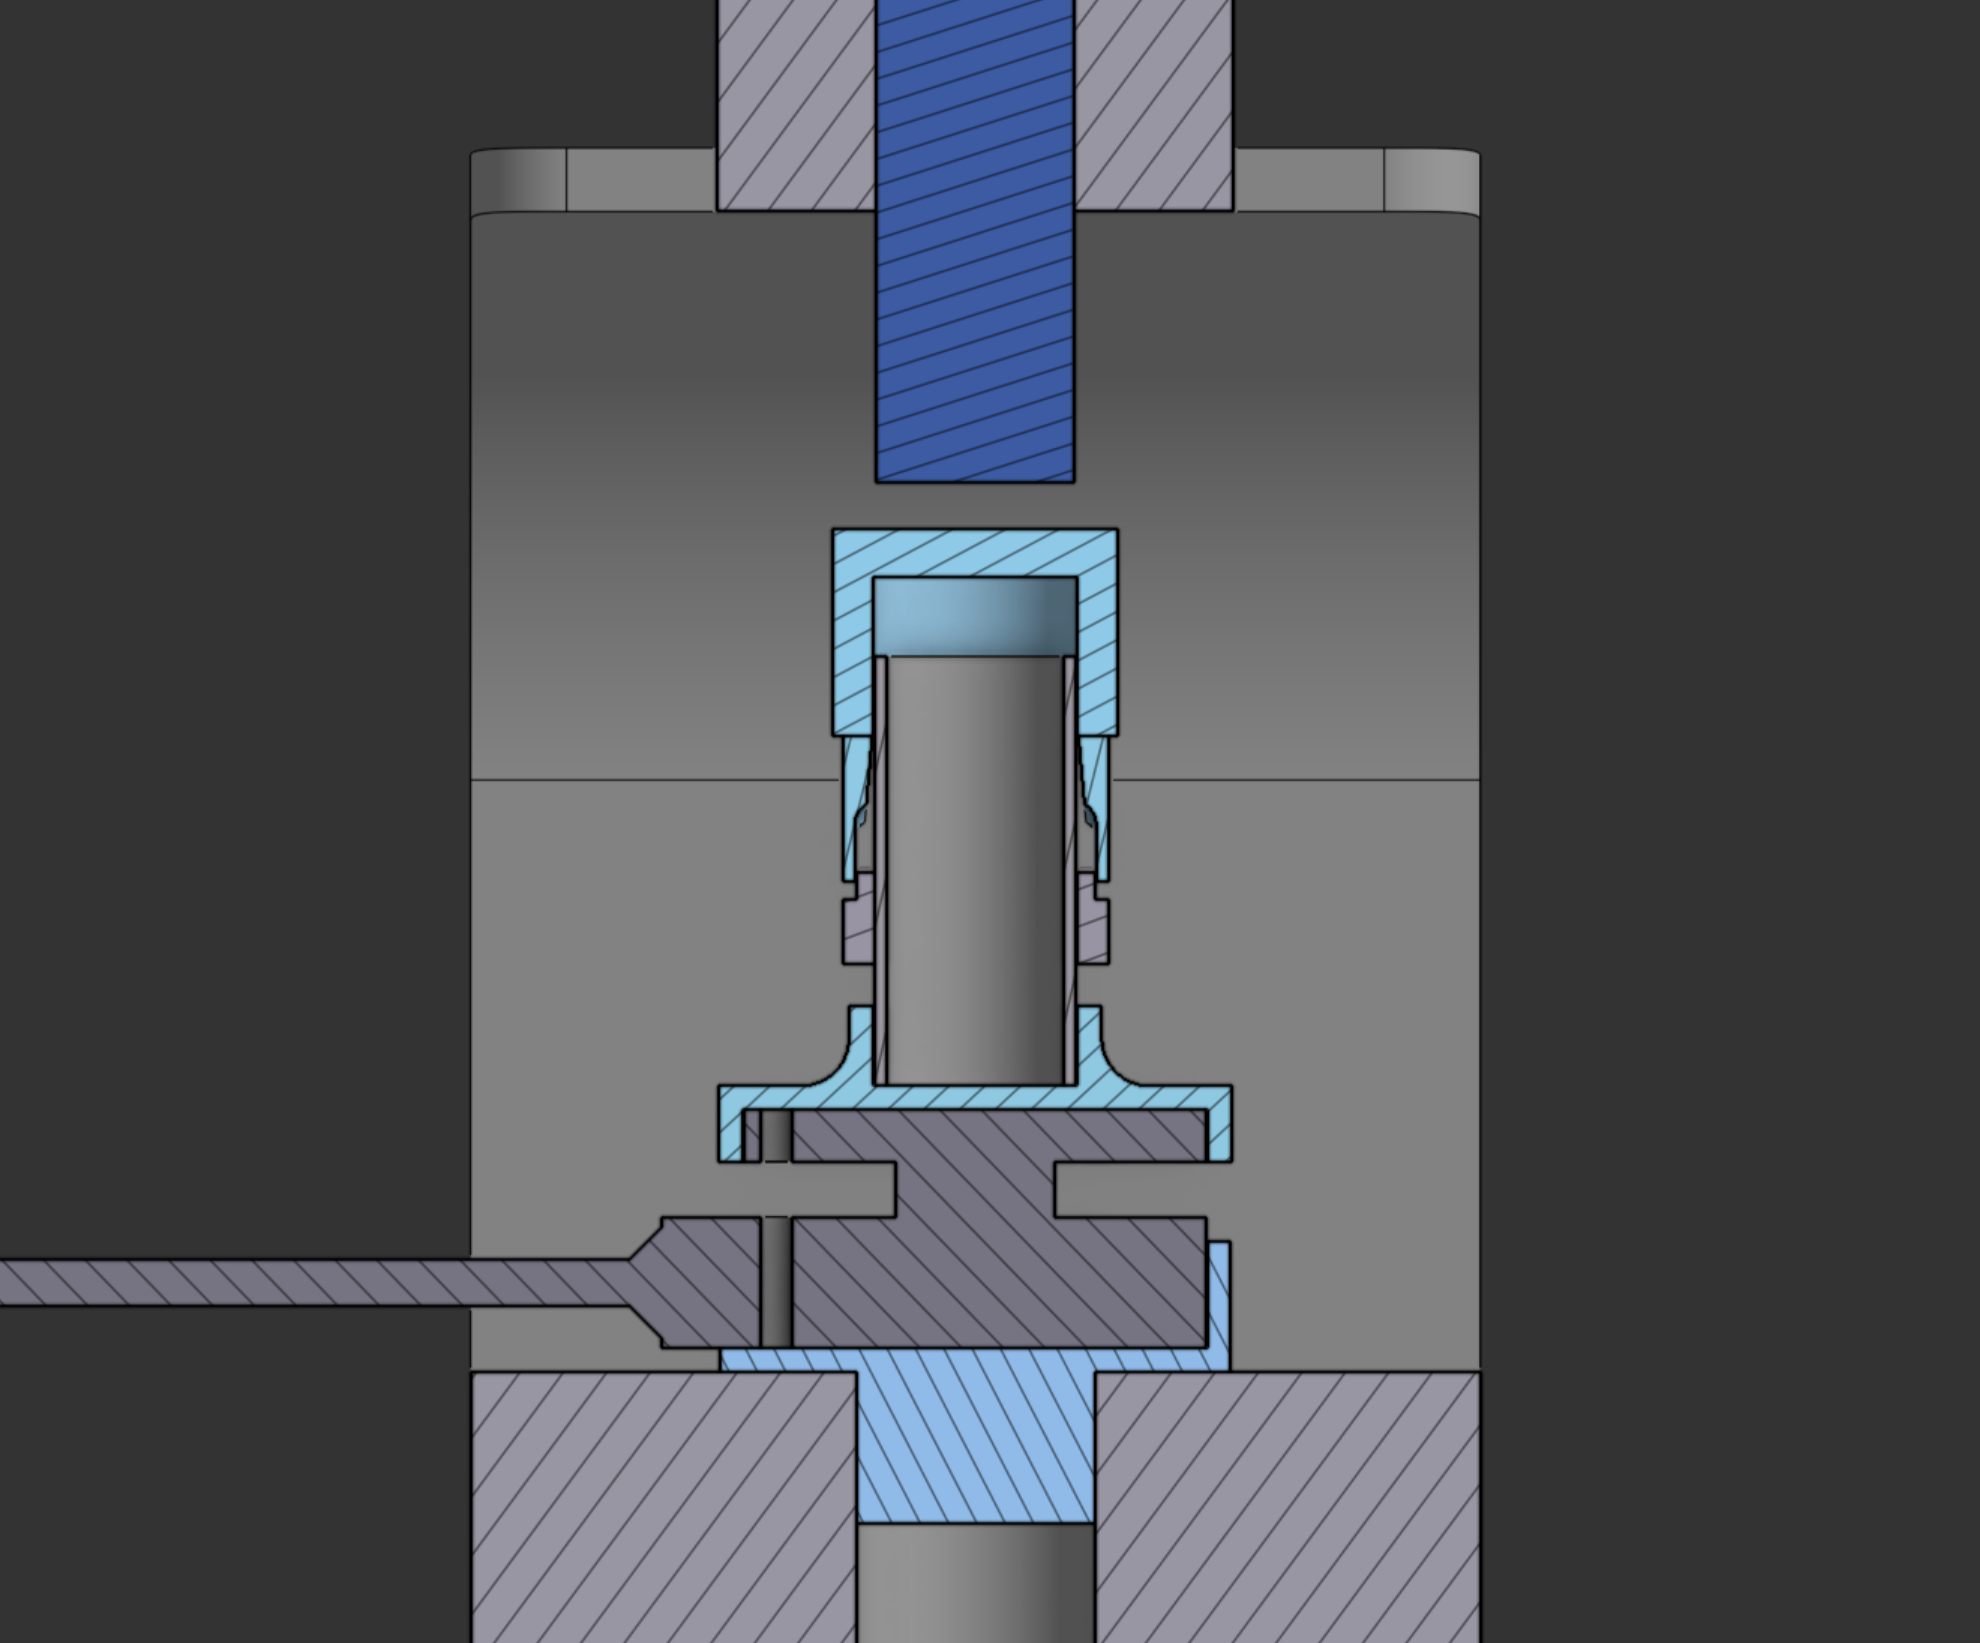
I designed and printed the fixture and did the electronics for it: load cell, amplifier, and an Arduino reading it out on a breadboard.
The design ended up drawn up and ready to quote.